
NEO Installation Guide
How to Install Your NEO Bidet
Cold Water Bidet Installation

1. Turn off the toilet tank water supply at the wall. Flush the toilet to completely empty the tank.
2. Remove the toilet seat by lifting the hinge tabs and unscrewing the toilet seat bolts.
TIP: Hold onto the nut underneath the toilet before unscrewing the toilet seat bolt from the top.
3. Place your NEO bidet on the toilet. Position the bidet and adjustment plates so that they line up with the holes on the toilet bowl.
4. Reattach your toilet seat using the original toilet seat hardware.
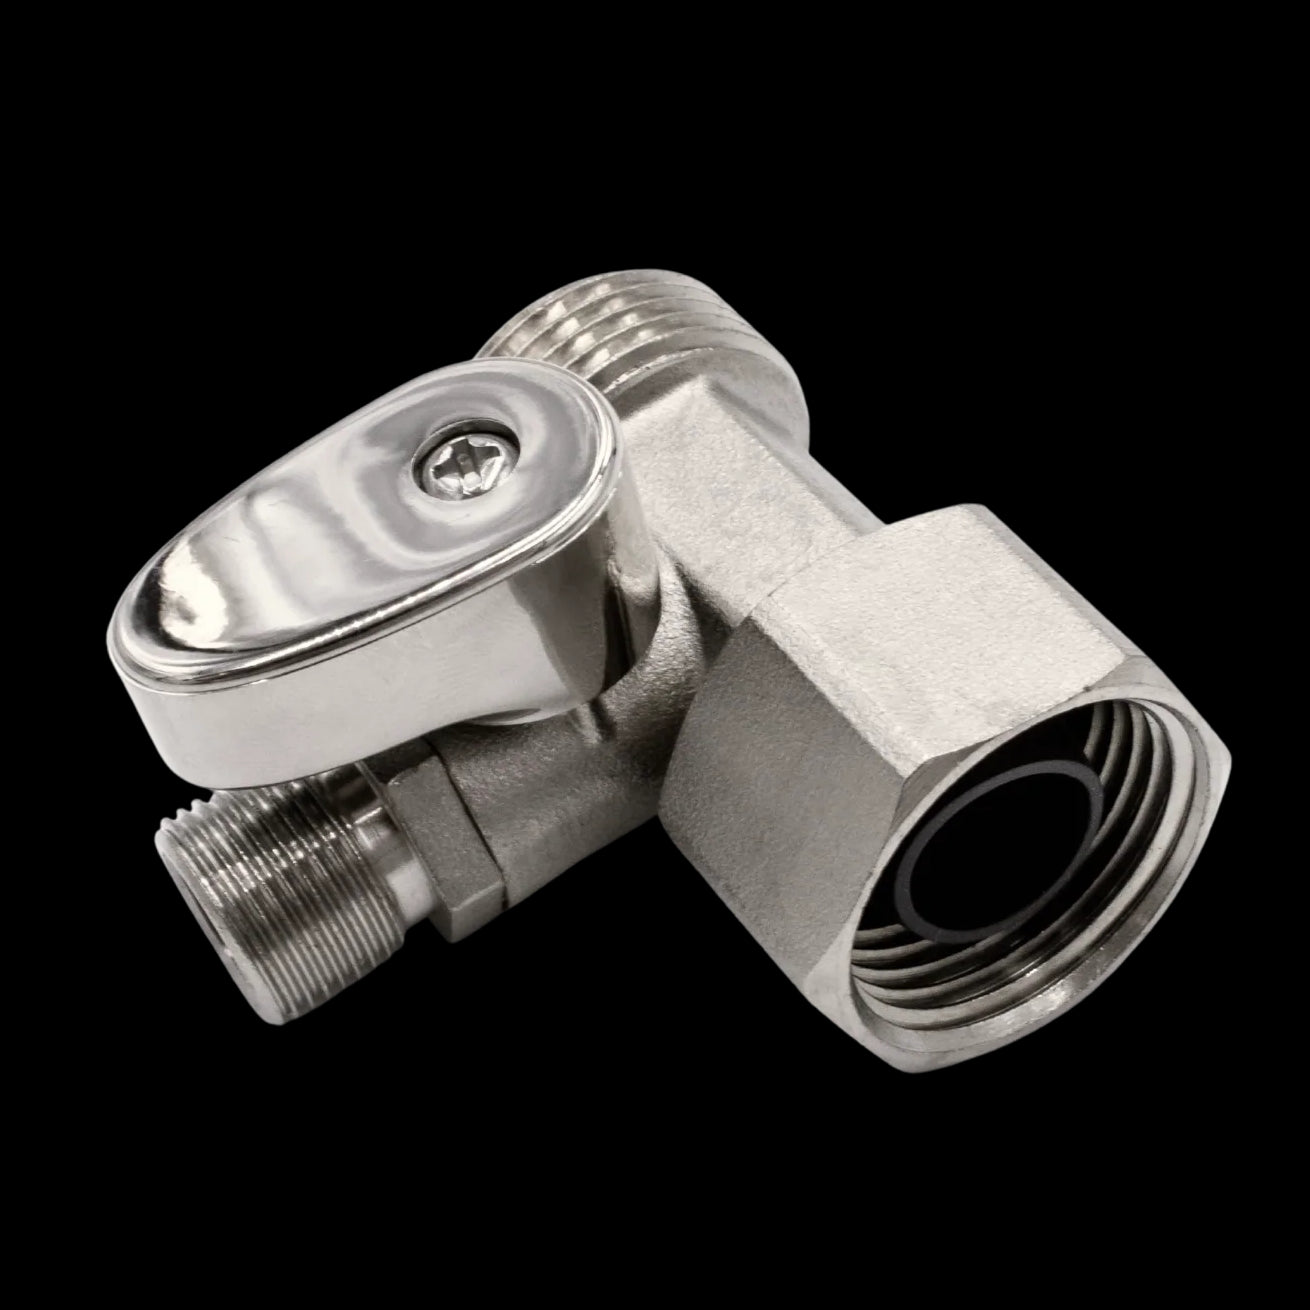
5. Unscrew the water supply hose from the toilet tank’s fill valve and connect the top of the T-Adapter (15/16” end) to the toilet tank.
NOTE: The 15/16” end is equivalent to a 7/8” end.
TIP: Place a towel or bucket underneath the toilet tank’s fill valve to catch any residual water.
6. Connect the 1/2” end of the Cold Water Hose to the T-Adapter. Connect the 1/4” end of the hose to the cold water bidet inlet.

TIP: We recommend tightening by hand first, then using the wing nut on the cold water hose to tighten the connenctions at both ends.
7. Connect the water supply hose to the bottom of the T-Adapter (15/16” end).
TIP: The 15/16” end is equivalent to a 7/8” end.

8. Congrats! You made it! Turn on the water supply and you’re all set!
For Hot Water connection, proceed to Step 9.
TIP: For NEO 320 users who only want a cold water connection, you can place a Hot Water Cap on the hot water inlet at this step.
Hot Water Bidet Installation

9. Turn off the hot water supply valve, located either underneath or near the sink.
Disconnect the sink’s hot water supply hose from the hot water supply valve.
TIP: Most valves will need to be turned clock-wise. Place a towel or bucket underneath the sink water supply valve to catch any residual water.
10. Connect the male threaded 3/8” end of the Hot Water T-Adapter to the sink’s hot water valve.
Unscrew the side hex nut from the Hot Water T-Adapter, then thread the 8 mm end of the Hot Water Hose through the hex nut, keeping the hex nut in its original orientation.
With the Hot Water Hose threaded through the hex nut together, connect this end onto the 8 mm tip of the Hot Water T-Adapter.
Use the hex nut to tighten the connection.
TIP: Twist and push the Hot Water Hose onto the T-Adapter until you can no longer see the tip and it is flush against the threads.
11. Connect the female threaded 3/8” end of the Hot Water T-Adapter to the sink’s hot water supply hose.
TIP: Ensure that the black rubber washer is inserted into the Hot Water T-Adapter.
12. Connect the 1/4” end of the Hot Water Hose to the hot water inlet on the bidet.Turn on the sink & toilet water supply valves, and you’re ready to go!
NOTE: Hot Water Inlet only appears on NEO 320, the hot water model.
COLD WATER SET-UP
NEO 110, 120, 180, 185, 320
HOT WATER SET-UP
NEO 320
Step 1: Prepare for Installation
To start or pause a clip, click on the video.
Turn off the toilet’s water supply valve located either on the ground or on the wall. Flush the toilet to completely empty the tank.
Remove the toilet seat by lifting the hinge tabs and unscrewing the toilet seat bolts.
TIP: Hold onto the nuts underneath the toilet while unscrewing the toilet seat bolts from the top.


View Full Installation Videos Here
Optimize Your Installation
with optional LUXE Bidet accessories


Can't find your part?
Can't find your part?
TaskRabbit is a same-day service platform that connects you with local Taskers who can help with a wide range of tasks from plumbing to mounting to cleaning.
Hire a Tasker for help at a time that suits your schedule.
Installation FAQ

Can't find your question?
GET HELP WITH
GET HELP WITH
Product Registration
Extend the standard 18-month warranty by an additional 6 months when you register your LUXE product.

How to Use A LUXE Bidet
First time? No problem, we've got your rear covered. Read our First Experience & Bidet Care Guide.

Bidet Fit Guide
Our Bidet Kits fit most standard US toilet setups. To check the sizing for yours, see our interactive guide.
